
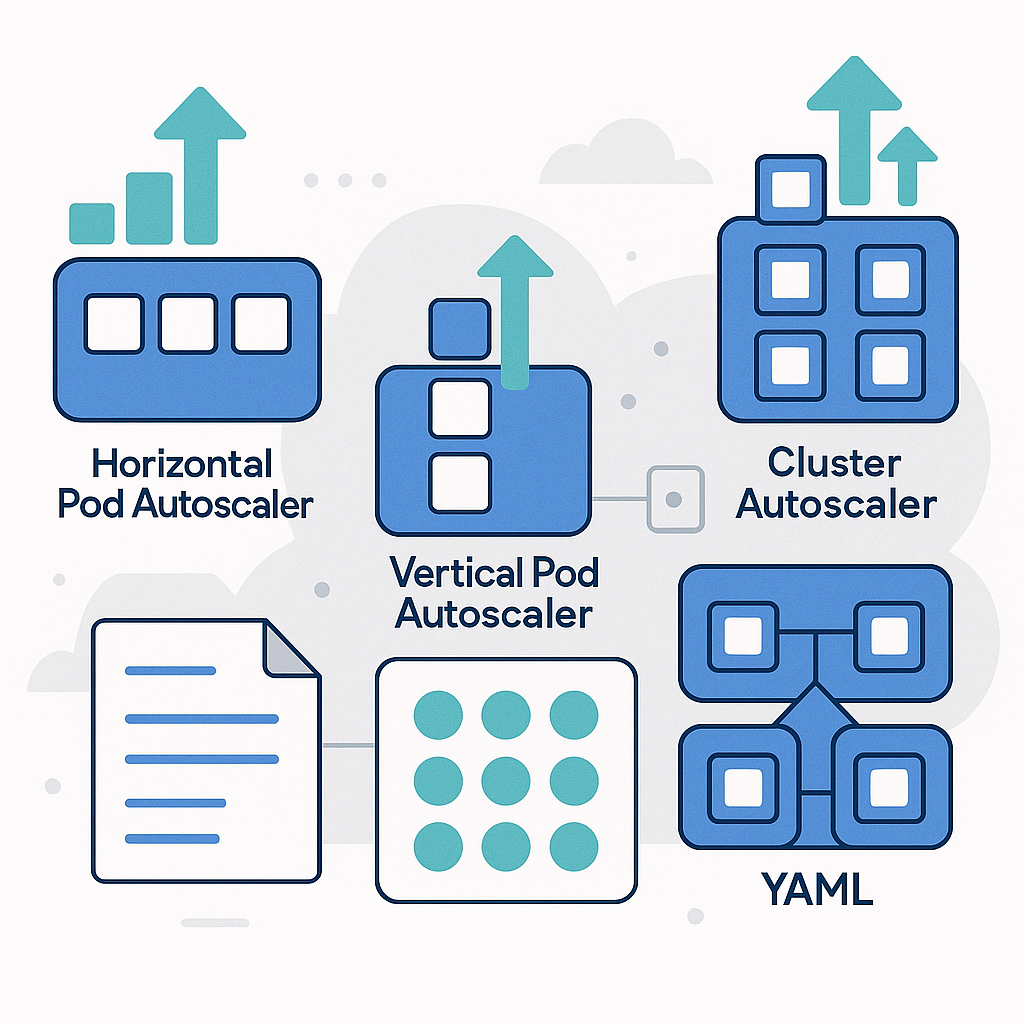
Horizontal Pod Autoscaler, Vertical Pod Autoscaler, and Cluster Autoscaler with YAML examples
Reliably scaling a Kubernetes application doesn’t just mean increasing or decreasing the number of pods. To achieve resilience, cost efficiency, and stable performance you need complementary tools that operate at different layers: pods, container resource requests, and cluster nodes. Here we’ll dive into three key components: Horizontal Pod Autoscaler (HPA), Vertical Pod Autoscaler (VPA), and Cluster Autoscaler (CA), explaining how and when to use them, how to make them coexist, and showing YAML examples ready to adapt.
Why autoscale at multiple layers
The HPA adjusts the number of replicas of a workload based on observed load; the VPA adjusts container CPU and memory requests and limits; the Cluster Autoscaler changes the size of the node pool to meet overall capacity demand. Combining them properly yields an elastic system: pods grow when needed, containers have the right resources, and the cluster adds or removes nodes to support everything without waste.
Horizontal Pod Autoscaler (HPA)
The HPA increases or decreases the number of replicas of a Deployment, StatefulSet, or ReplicaSet based on metrics such as CPU, memory, or custom metrics. It’s the most straightforward autoscaler for handling traffic spikes, reducing the risk of overload and ensuring throughput.
Prerequisites and metrics
To use CPU/memory metrics you need the metrics-server component. For custom or external metrics (for example requests per second or queue length) you need a metrics adapter (such as Prometheus Adapter) that exposes the Custom/External Metrics API.
HPA YAML example (autoscaling/v2)
apiVersion: autoscaling/v2
kind: HorizontalPodAutoscaler
metadata:
  name: webapp-hpa
  namespace: prod
spec:
  scaleTargetRef:
    apiVersion: apps/v1
    kind: Deployment
    name: webapp
  minReplicas: 2
  maxReplicas: 20
  metrics:
    - type: Resource
      resource:
        name: cpu
        target:
          type: Utilization
          averageUtilization: 60
    - type: Pods
      pods:
        metric:
          name: http_requests_per_second
        target:
          type: AverageValue
          averageValue: "50"
  behavior:
    scaleUp:
      stabilizationWindowSeconds: 0
      policies:
        - type: Percent
          value: 100
          periodSeconds: 60
    scaleDown:
      stabilizationWindowSeconds: 300
      policies:
        - type: Percent
          value: 50
          periodSeconds: 60
In this example the HPA scales between 2 and 20 replicas. It increases replicas if the average CPU exceeds 60
Practical tips for HPA
Always define consistent resource requests in Pods so the Utilization metric makes sense. Set stabilization windows and policies to avoid thrashing. Use domain-specific metrics (such as RPS or latency) when you want to optimize SLOs, and always verify that readiness probes are correct so you don’t scale on pods that aren’t ready yet.
Vertical Pod Autoscaler (VPA)
The VPA suggests and/or automatically applies container CPU and memory requests and limits. It’s particularly useful for workloads with unpredictable usage profiles or that change over time. It can operate in three modes: Off (recommendations only), Initial (apply resources at pod startup), and Auto (can evict pods to reallocate resources).
VPA YAML example (control only memory with HPA on CPU)
apiVersion: autoscaling.k8s.io/v1
kind: VerticalPodAutoscaler
metadata:
  name: webapp-vpa
  namespace: prod
spec:
  targetRef:
    apiVersion: apps/v1
    kind: Deployment
    name: webapp
  updatePolicy:
    updateMode: Auto
  resourcePolicy:
    containerPolicies:
      - containerName: "*"
        controlledValues: RequestsOnly
        controlledResources:
          - memory
        minAllowed:
          memory: 256Mi
        maxAllowed:
          memory: 4Gi
Here the VPA only adjusts memory (not CPU), leaving the HPA to scale horizontally based on CPU. With RequestsOnly you avoid overly tight limits that could trigger OOMKilled. Auto mode allows the VPA to update pods when needed; if you want recommendations only, set Off and check the VPA status.
VPA best practices
Do not make HPA and VPA “compete” on the same resource. A typical combination is HPA on CPU or a business metric and VPA regulating memory. Set minAllowed and maxAllowed to avoid recommendations that are too aggressive or too conservative. Remember that VPA requires its components (Recommender, Updater, Admission Controller) to be installed in the cluster.
Cluster Autoscaler (CA)
The CA adds or removes nodes from the cluster when there isn’t enough capacity to schedule new pods, or when nodes are underutilized and pods can be moved elsewhere. It works with providers such as AWS, GCP, Azure, or with Cluster API, and is essential to enable true elasticity at the infrastructure level.
How it works together with HPA and VPA
If the HPA increases replicas but the pods remain Pending due to lack of resources, the CA will try to scale the nodes. If the VPA recommends more memory and the pods can’t find space, in this case the CA can also add nodes. Conversely, when load drops, fewer pods and reduced requests allow nodes to be removed to save costs.
Cluster Autoscaler YAML example (AWS, auto-discovery)
apiVersion: apps/v1
kind: Deployment
metadata:
  name: cluster-autoscaler
  namespace: kube-system
  labels:
    app: cluster-autoscaler
spec:
  replicas: 1
  selector:
    matchLabels:
      app: cluster-autoscaler
  template:
    metadata:
      labels:
        app: cluster-autoscaler
      annotations:
        cluster-autoscaler.kubernetes.io/safe-to-evict: "false"
    spec:
      priorityClassName: system-cluster-critical
      serviceAccountName: cluster-autoscaler
      containers:
        - name: cluster-autoscaler
          image: registry.k8s.io/autoscaling/cluster-autoscaler:v1.29.0
          command:
            - ./cluster-autoscaler
            - --cloud-provider=aws
            - --balance-similar-node-groups
            - --skip-nodes-with-system-pods=false
            - --expander=least-waste
            - --node-group-auto-discovery=asg:tag=k8s.io/cluster-autoscaler/enabled,k8s.io/cluster-autoscaler/<CLUSTER_NAME>
          resources:
            requests:
              cpu: 100m
              memory: 300Mi
            limits:
              cpu: 100m
              memory: 300Mi
Make sure your node groups (ASG in AWS) are tagged with k8s.io/cluster-autoscaler/enabled and k8s.io/cluster-autoscaler/<CLUSTER_NAME>. The CA image must match (or be compatible with) the cluster version. Don’t forget RBAC and cloud provider permissions. On other providers, change the –cloud-provider parameter and the auto-discovery scheme.
Make them coexist without conflicts
Some guidelines for orchestrating HPA, VPA, and CA:
- Avoid contention on the same resource: use HPA on CPU or business metrics, and VPA on memory (RequestsOnly) or on CPU only if you aren’t using HPA on CPU.
- Set reasonable initial requests: they help both HPA and the scheduler work at their best, reducing warm-up time.
- Define PodDisruptionBudget and rollout strategies to limit impact when VPA or CA need to remove/restart pods and nodes.
- Configure HPA behavior to avoid oscillations, and consider longer stabilization for scale down.
- Monitor: export HPA/VPA/CA metrics and events, integrate alerts on insufficient replicas, Pending pods, and scheduling failures.
Observability and troubleshooting
If the HPA isn’t reacting, check available metrics with kubectl top and the status of the metrics-server. For custom metrics, check the adapter and the External/Custom API. For the VPA, review the recommendations in status and verify that the Admission Controller is active. For the CA, analyze events in kube-system and the Deployment logs: issues often stem from incorrect tags/labels on node groups or insufficient permissions.
Conclusion
The combination of HPA, VPA, and Cluster Autoscaler makes it possible to build a truly elastic system that can absorb spikes, optimize costs, and maintain consistent performance. Start from reliable metrics, apply conservative policies, and introduce automation gradually to avoid surprises in production.
Do you want to implement these autoscalers in your cluster or optimize an existing configuration? Contact us for consulting or subscribe to our newsletter to receive practical guides, checklists, and ready-to-use YAML templates.
Comments