
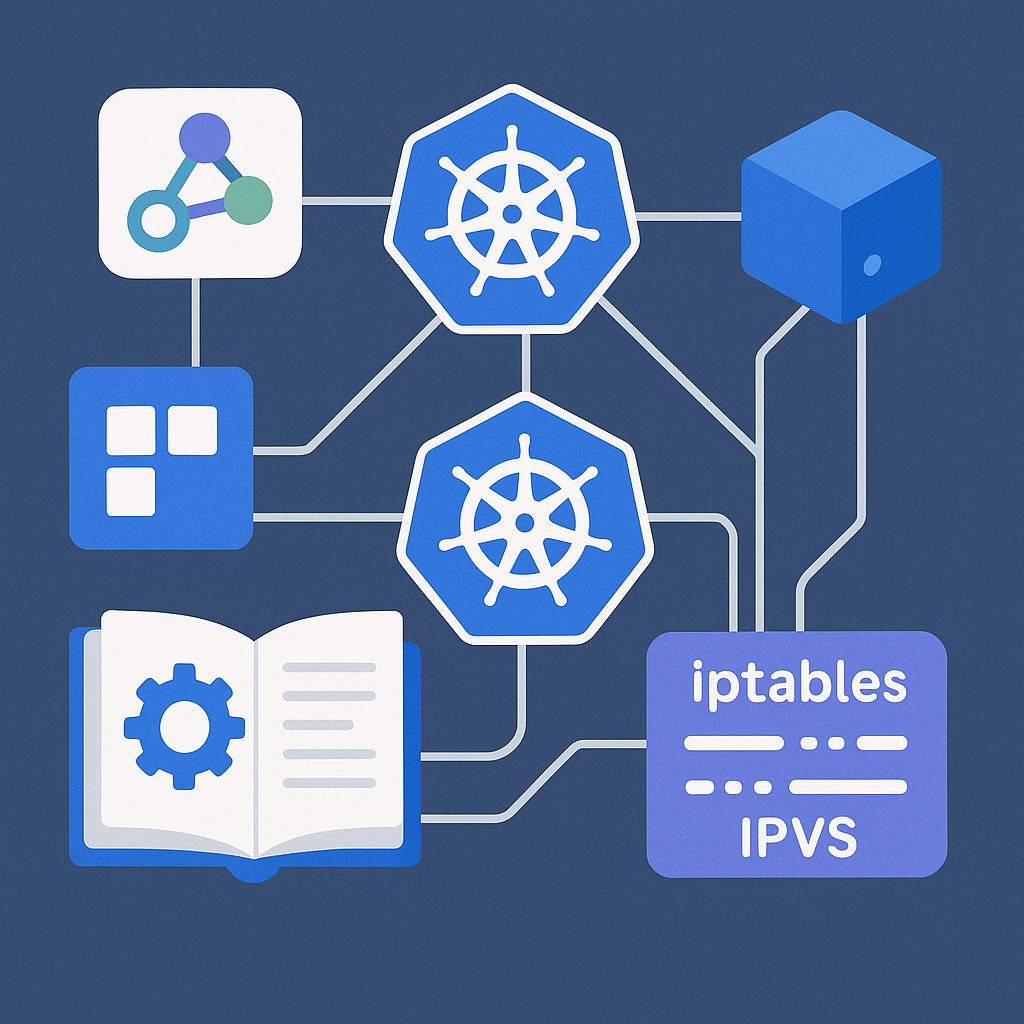
Complete lesson on Kubernetes networking: CNI, Pod networking, kube-proxy, and iptables/IPVS
Lesson objectives
By the end of this lesson you will have a clear, practical understanding of how networking works in Kubernetes. You will understand the principles of the network model, the role of CNI plugins, how Pods communicate with each other and with the outside world, and how kube-proxy implements Services using iptables or IPVS. You will also see design tips, key concepts such as NetworkPolicy, and a troubleshooting section with useful commands.
The Kubernetes network model in brief
The Kubernetes network model is based on three fundamental principles:
- Each Pod has its own IP and can communicate with any other Pod in the cluster without NAT.
- Agents and system services must be able to reach every Pod (for example for liveness/readiness).
- Services provide a stable virtual endpoint (ClusterIP) that abstracts a set of backend Pods.
This model is intentionally agnostic about the underlying technology: CNI plugins implement it via routing, bridging, or overlays (VXLAN/Geneve), sometimes with BGP or eBPF. The flexibility is great, but it requires a good understanding of the components to diagnose and optimize.
Key components
Container Network Interface (CNI)
CNI is a standard that defines how the kubelet orchestrates Pod networking by invoking external binaries. When a Pod is created, the kubelet calls the main CNI plugin (and “chained” plugins if present) to allocate the IP address, connect the virtual interfaces, and set routes and policies. The plugin releases the resources when the Pod is deleted.
Pod network
Pods receive virtual interfaces (usually veth pairs) connected to a bridge on the node or to a virtual device of the plugin. The CNI plugin manages IPAM (IP assignment), MTU, local and inter-node routes. Inter-node traffic can be routed in the clear, encapsulated (VXLAN/Geneve), or advertised on the physical network (e.g., BGP).
kube-proxy
kube-proxy watches Service and EndpointSlice objects and programs the node-level dataplane rules. Services of type ClusterIP, NodePort, and LoadBalancer become NAT tables/IPVS rules to distribute traffic to the backend Pods. Historically there was a userspace mode (now obsolete), while in production iptables or IPVS are used.
CNI: architecture and popular plugins
A CNI installation creates configuration files in /etc/cni/net.d and binaries in /opt/cni/bin. When a Pod is created, the kubelet invokes CNI with JSON parameters (namespace, name, containerID), and the plugin:
- Allocates an IP (via embedded IPAM or a dedicated plugin).
- Creates the veth pair and connects the Pod end to the container’s network namespace.
- Sets MTU, routes, policies and, if needed, tunnels or BGP mappings.
Popular plugins:
- Flannel: simple overlay (VXLAN/host-gw), easy to get started.
- Calico: L3 routing with BGP, optional overlay, advanced NetworkPolicy and eBPF support.
- Cilium: eBPF dataplane, can replace kube-proxy, L7 inspection and advanced policies.
- Weave Net: self-forming overlay, easy for small and medium environments.
Generic CNI configuration example
{
  "cniVersion": "0.3.1",
  "name": "mynet",
  "type": "bridge",
  "bridge": "cni0",
  "isGateway": true,
  "ipMasq": false,
  "ipam": {
    "type": "host-local",
    "ranges": [[{ "subnet": "10.244.0.0/16" }]],
    "routes": [{ "dst": "0.0.0.0/0" }]
  }
}
In production you will use your plugin’s file. Note how IPAM assigns addresses for the PodCIDR and the bridge acts as an intra-node virtual switch.
Pod networking: what really happens
When a Pod is born, the runtime creates an isolated network namespace. The CNI plugin puts a veth in the Pod namespace and the other end in the node namespace (often connected to a bridge, for example cni0). Routes are configured so that:
- Pods on the same node reach each other via the bridge.
- Pods on different nodes reach each other via routes or tunnels to the other nodes.
If traffic goes through a Service, kube-proxy comes into play with DNAT towards a backend Pod, and possibly SNAT depending on the path and the Service type (ClusterIP, NodePort, LoadBalancer).
Service networking and kube-proxy
Services abstract a set of labeled Pods. There are different types:
- ClusterIP: internal virtual IP within the cluster (default).
- NodePort: exposes the Service on an open port on every node.
- LoadBalancer: delegates to an external load balancer (cloud or metallb on-prem).
- ExternalName/Headless: special cases for DNS or direct resolution.
kube-proxy looks at EndpointSlice to learn the IPs of healthy Pods and programs rules that map the Service IP to the backends. Load balancing is typically round-robin with conntrack persistence; IPVS provides additional algorithms (rr, lc, wrr).
iptables vs IPVS: practical differences
Both implement the Service data plane, but with different approaches:
- iptables: NAT and filter chains (KUBE-SERVICES, KUBE-NODEPORTS, KUBE-SVC-*, KUBE-SEP-*). Simple, ubiquitous, but with many rules the evaluation latency can grow.
- IPVS: uses the kernel LVS to table virtual services and real servers; it handles large numbers of Services/Endpoints better and allows multiple load-balancing algorithms.
In large or dynamic clusters, IPVS is recommended. Some eBPF dataplanes (e.g., Cilium) can replace kube-proxy improving performance and observability.
Inspection examples
# iptables: kube-proxy chains
sudo iptables-save | grep -E "KUBE-(SERVICES|SVC|SEP|NODEPORTS)"

# IPVS: virtual and real services
sudo ipvsadm -ln

# Endpoints and Services
kubectl get svc,ep,endpointslice -A -o wide
NetworkPolicy: network-level security
NetworkPolicies restrict Ingress/Egress traffic between Pods based on label selectors, namespaces, and sometimes L7 levels depending on the plugin. Without policies, everything is allowed; the best practice is a “default deny” approach with targeted allowances.
Not all plugins implement the same extensions: check support before designing complex policies.
Troubleshooting: flows, DNS and nodes
When something goes wrong, reason by layers: Pod, node, cluster, external. Here is a quick checklist.
Basic checks
# Node status and PodCIDR
kubectl get nodes -o wide

# Services and backends
kubectl get svc -A -o wide
kubectl get endpointslice -A

# DNS inside a Pod
kubectl run -it netshoot --image=nicolaka/netshoot --restart=Never -- sh
dig kubernetes.default.svc.cluster.local @kube-dns.kube-system.svc.cluster.local
curl -sI http://CLUSTER_IP:PORT
Node network
# Interfaces and bridges
ip link
brctl show || bridge link

# Routes and PodCIDR
ip route

# NAT table
iptables -t nat -S | grep KUBE

# IPVS
ipvsadm -ln

# MTU and offload (for overlay issues)
ip link show dev eth0
ethtool -k eth0 | grep 'rx-checksumming|gro|gso'
Inter-node connectivity
# Ping between Pods on different nodes
kubectl exec -it POD_A -- ping -c3 IP_POD_B

# Traceroute from a Pod
kubectl exec -it POD_A -- traceroute -n IP_POD_B

# Check NetworkPolicy
kubectl describe networkpolicy -A
Design best practices
- Size PodCIDRs correctly: set –cluster-cidr and, if needed, –allocate-node-cidrs in the controller manager.
- Align the MTU between overlay and physical network to avoid fragmentation: many “mysterious” problems are MTU-related.
- Prefer IPVS on clusters with many Services or high churn; consider eBPF for performance and observability.
- Enable a reliable DNS (CoreDNS) and consider NodeLocal DNSCache to reduce latency.
- Apply “default deny” NetworkPolicy and enable only what is needed; document network dependencies.
- Monitor conntrack and table saturation; adjust net.netfilter.nf_conntrack_max if necessary.
- If you use BGP (Calico), take care of the integration with the physical network and properly announce PodCIDRs.
- Automate end-to-end connectivity tests in CI pipelines to catch data plane regressions.
Frequently asked questions
Can I mix multiple CNI plugins?
There are “chained” configurations (e.g., calico CNI + host-local IPAM), but normally a single main plugin handles routing and policies. Avoid unnecessary overlap.
What is hairpin NAT?
It is the ability of a Pod to contact itself or a Pod on the same node via a Service IP. It requires settings on the bridge and may depend on the plugin. Some environments disable it for simplicity.
Is kube-proxy always necessary?
Not if you use an eBPF dataplane that replaces it (e.g., Cilium). Otherwise, yes: it is the component that programs iptables/IPVS for Services.
Conclusions
You have seen how Kubernetes networking combines simple principles with flexible implementations: CNI provides per-Pod IPs and inter-node connectivity; kube-proxy translates Services into efficient rules with iptables or IPVS; NetworkPolicies introduce control and security. With these foundations, you can design reliable, scalable, and observable clusters, intervening quickly when something doesn’t work.
Call to action
Do you want to put what you learned into practice? Choose a CNI plugin, create a test cluster, try both iptables and IPVS, and measure the differences. If you need a step-by-step guide or a review of your cluster’s network architecture, contact us: we can help you choose the ideal dataplane, set secure policies, and build truly effective connectivity test pipelines.
Comments