
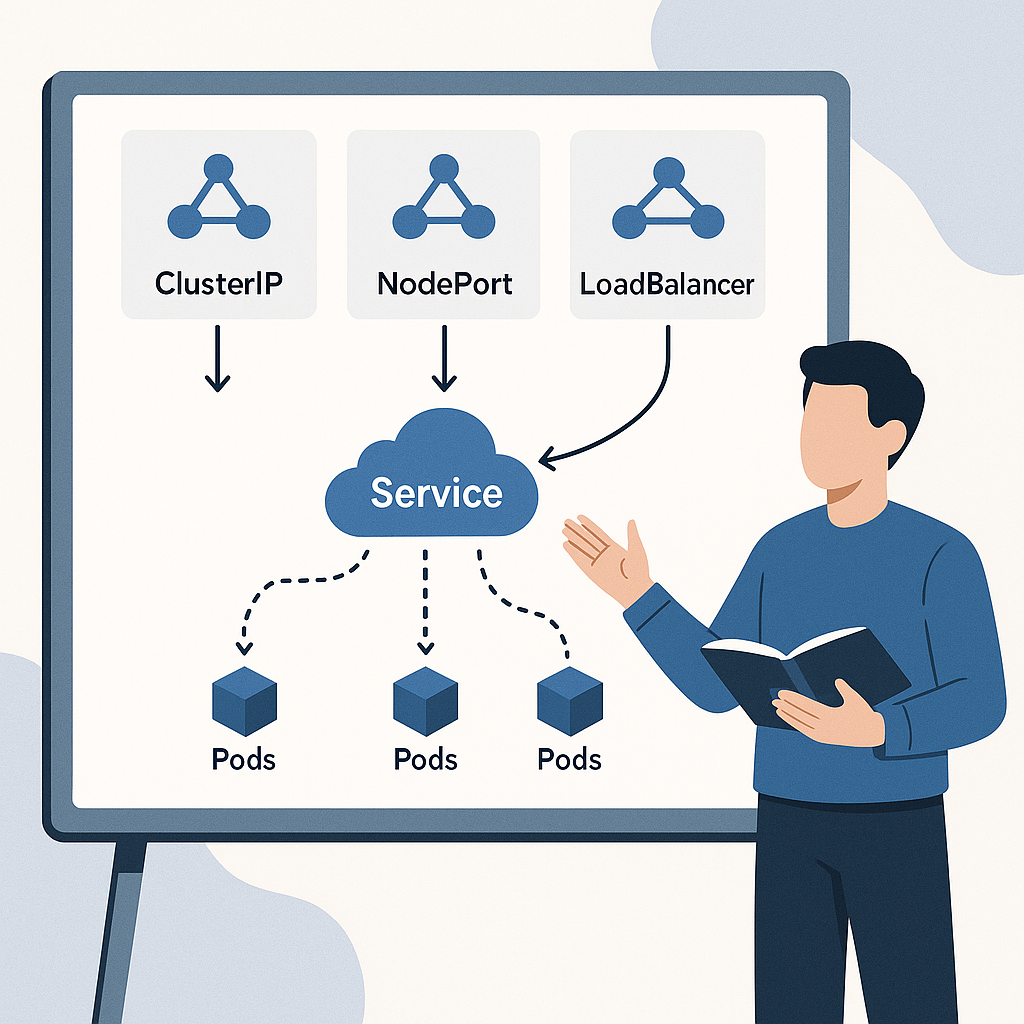
ClusterIP, NodePort, LoadBalancer, and How Service Discovery Works
Why Services are essential in Kubernetes
Pods are constantly created and destroyed: that’s the nature of Kubernetes. This dynamism is great for scalability and self-healing, but it creates a challenge: how do you reliably reach applications whose endpoints keep changing? Services answer this by providing a stable, reliable access point behind which traffic is routed to the right Pods.
A Service defines a stable virtual IP (ClusterIP), a set of ports, and a set of endpoints (the Pods matching the selected labels). Traffic to the Service is load-balanced across healthy Pods using rules managed by the control plane and distributed to the nodes’ networking agents (kube-proxy in iptables or IPVS mode). In practice, Services decouple producers from consumers, maintaining a consistent contract even as Pods change.
How traffic flows: an overview
When a client makes a request to a Service, the Service’s virtual IP and port are translated to one of the available endpoints, chosen by a load-balancing algorithm (typically round-robin). Endpoints are published as EndpointSlice, an internal resource listing the target Pods and their IPs. Kube-proxy on each node programs forwarding rules so that traffic always finds a valid Pod.
The difference between the various Service types concerns who can reach that access point and how: only from within the cluster, from outside on an exposed port, or through a cloud provider’s load balancer.
ClusterIP: the default internal access
ClusterIP is the default type. It creates a virtual IP reachable only from inside the cluster. It’s perfect for communication between microservices, internal databases, messaging queues, and, in general, anything that should not be exposed to the Internet.
Key characteristics:
- Stable virtual IP and associated internal DNS.
- Traffic load balancing across the Pods matching the Service selector.
- Not accessible from outside the cluster.
When to use it: almost always, as the primary interface between application services. Expose only the front end or public APIs externally, leaving the rest protected by ClusterIP.
NodePort: open a port on every node
NodePort extends ClusterIP by exposing the Service on a static port (by default between 30000 and 32767) on every node in the cluster. This means the Service is reachable from outside using a node’s IP address and the nodePort. Under the hood, there’s still a ClusterIP: NodePort is an external “window” pointing to that internal VIP.
Key characteristics:
- Fixed port opened on all cluster nodes.
- Enables external access without additional components.
- Often used as a building block behind an external load balancer or an Ingress Controller.
Caveats:
- Directly exposes nodes: assess firewalling and security.
- Limited port range; avoid conflicts and define clear policies.
- Requests can hit any node and then be forwarded to the Pod, potentially causing cross-node hops. If you need to preserve the source IP and reduce hops, consider ExternalTrafficPolicy Local (if you use LoadBalancer) or a topology-aware external load balancer.
LoadBalancer: cloud integration
LoadBalancer creates (in supported clouds) a public L4 load balancer with an external IP. The load balancer targets the NodePort ports on workers, which in turn route to the Pods. It’s the simplest way to expose a service to the Internet in managed environments.
Key characteristics:
- External IP assigned by the provider.
- Health checks and routing managed by the load balancer.
- Supports policies such as ExternalTrafficPolicy Local to preserve the source IP.
Caveats:
- Costs: each LoadBalancer Service can create billable resources.
- Provider dependence: on bare metal you need a solution such as MetalLB or an external load balancer.
- It’s L4: for advanced HTTP routing, SSL offloading, and path-based routing, consider an Ingress Controller in front of one or a few Services.
Service discovery: how clients find Services
DNS with CoreDNS
The primary mechanism is the internal DNS provided by CoreDNS. Each Service receives a DNS name in the form name.namespace.svc.cluster.local. Thanks to search domains, Pods can often just use the Service name or name.namespace without writing the full FQDN.
When a client resolves the name, it gets the Service’s ClusterIP and sends requests there. Load balancing across Pods happens at the node level, not via DNS round-robin (except for headless Services).
Headless Service to discover Pods
If you set clusterIP to None, the Service becomes headless: no VIP is created, and DNS resolution returns the Pods’ IPs directly. It’s useful for stateful applications, protocols that require direct connections to individual Pods, or client libraries that implement their own load balancing.
With a headless Service you can get:
- Multiple A records, one per healthy Pod.
- SRV records for named ports, useful to identify hosts and ports for each Pod.
Service environment variables
When a Pod starts, Kubernetes can inject environment variables that indicate the IPs and ports of existing Services. This mechanism is backward-compatible but has limits: it doesn’t update if Services change after startup, and it doesn’t work well with multiple namespaces or dynamic deployments. Today, DNS is almost always the recommended approach.
Quick examples
ClusterIP Service example for an internal web application:
apiVersion: v1
kind: Service
metadata:
  name: web-internal
  namespace: app
spec:
  selector:
    app: web
  ports:
    - name: http
      port: 80
      targetPort: 8080
  type: ClusterIP
NodePort example for simple external access:
apiVersion: v1
kind: Service
metadata:
  name: web-nodeport
spec:
  selector:
    app: web
  ports:
    - port: 80
      targetPort: 8080
      nodePort: 30080
  type: NodePort
LoadBalancer example preserving source IP:
apiVersion: v1
kind: Service
metadata:
  name: web-public
  annotations:
    service.beta.kubernetes.io/aws-load-balancer-type: nlb
spec:
  selector:
    app: web
  externalTrafficPolicy: Local
  ports:
    - port: 80
      targetPort: 8080
  type: LoadBalancer
Verify DNS resolution from inside a Pod:
kubectl run -it tester --image=busybox:1.36 --restart=Never -- sh
nslookup web-internal.app.svc.cluster.local
wget -qO- http://web-internal.app
Best practices and common pitfalls
- Name ports in Services and Pods: it improves observability and enables useful SRV records.
- Avoid NodePort directly exposed to the Internet: prefer a LoadBalancer or an Ingress Controller.
- For stateful workloads, pair a headless Service with a StatefulSet for predictable Pod DNS.
- Check sessionAffinity if the protocol requires session affinity; the default is stateless load balancing.
- Watch EndpointSlice: if there are no endpoints, the Service exists but cannot respond; it’s often a label selector issue.
- On bare metal, consider solutions such as MetalLB or external load balancers; alternatively, an Ingress Controller behind a NodePort.
When to choose what
- ClusterIP: internal communications between microservices and backend components.
- NodePort: quick external access in test environments or as a target for an external load balancer.
- LoadBalancer: simple public exposure in the cloud, often combined with Ingress for L7 routing.
Remember that a robust architecture often combines these types: ClusterIP for internal services, an Ingress Controller as the HTTP/S entry point, and, if needed, LoadBalancer Services for non-HTTP TCP/UDP traffic or specific networking needs.
Conclusion
Services are the glue of networking in Kubernetes: they provide stability on top of a highly dynamic substrate. Understanding the differences between ClusterIP, NodePort, and LoadBalancer and mastering DNS-based service discovery are essential to design reliable, secure, and performant platforms. With the examples and best practices presented, you can create a clear plan to expose your workloads in the way that best fits the context.
Put it into practice: call to action
Try it now in your cluster: create a ClusterIP Service for your app, add a NodePort for testing and, if you’re in the cloud, promote it to a LoadBalancer. Verify DNS resolution with a test Pod and measure behavior with observability tools. If you want a ready-to-use checklist or a hands-on workshop for your team, contact me: we’ll build an effective path together, from theory to production.
Comments