
Face Recognition and Tracking with OpenCV (Part One)
Face Recognition and Tracking with OpenCV
In the upcoming series of articles, I will try to explain how to use OpenCV to perform object recognition. Step by step, I will try to explain how to achieve interesting results quickly. I want to clarify that the subject of the article/tutorial is not random. The theme of face recognition and tracking is part of a study carried out on various AI technologies as part of a research project, Alex (Auto Learning Experiment), which we have been pursuing for some time at Eclettica with the goal of simulating a human-machine interaction.
So, why start with OpenCV?
I believe it is a simple-to-use framework and a good starting point for those needing image processing capabilities in their applications.
However, before diving into the face recognition example, I think it’s necessary to have an overview of the framework’s general characteristics and its basic structures, if nothing else, to have a clearer understanding of what we’ll see later.

OpenCV is an open-source library specialized in image processing and machine learning. It is released under a BSD license, making it free for both academic and commercial use. The development interfaces are varied: C++, C, Python, and Java, and it runs on Windows, Linux, Mac OS, iOS, and Android. For our example, we will use Python as the programming interface.
OpenCV is essentially structured into 4 main modules: CXCORE, CV, ML, HighGUI, although there are other interfaces to simplify development, like the one for accessing webcams.
In summary, OpenCV’s framework is structured as:
- CXCORE: implements data structures and functions for handling images and videos.
- CV: a module specialized in image processing and analysis, calibration, and tracking.
- ML (Machine Learning): contains numerous functions on machine learning and pattern recognition, such as clustering and classification.
- HighGUI: implements user interface (GUI) definitions.
For our example, we will primarily analyze the CXCORE, CV, and HighGUI modules. We will also use interfaces to capture video streams from webcams. I will assume that the system is ready for using Python (in our case, version 3.6) and OpenCV.
For completeness, remember that in a Linux environment, you can install the precompiled version of OpenCV for Python simply by running:
$ yum install numpy opencv*
or for Ubuntu or Debian:
sudo apt-get install libopencv-dev python-opencv
pip install numpy
where numpy is a powerful mathematical library and is a prerequisite for installing OpenCV.
To verify the correct installation of OpenCV, just use a Python console and write the following lines of code:
>>> import cv2
>>> print (cv2.__version__)
Great! Let’s start examining the first methods we have available for image management. Let’s try to understand how we can load and modify a single image.
To read an image from a file, simply invoke the cv2.imread(arg1,arg2) method, which accepts two arguments:
- arg1: is the path of the image to load
- arg2: is a flag that can take the value 1, 0, or -1
- cv2.IMREAD_COLOR: the value is set to 1 for color images.
- cv2.IMREAD_GRAYSCALE: the value is set to 0 for grayscale images.
- cv2.IMREAD_UNCHANGED: the value is set to -1 for images with transparency.
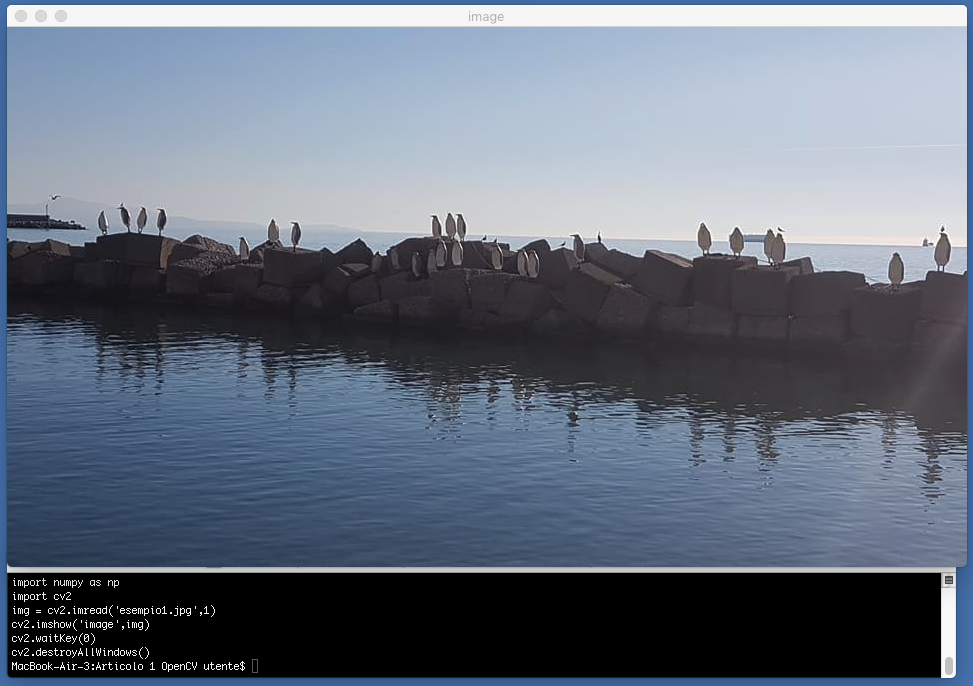
Let’s try to write the following lines of code:
import cv2
img = cv2.imread('example1.jpg',1)
As you can see, Python simplifies code writing a lot. In the previous two lines, OpenCV was imported, and the object img was assigned the value of the image saved in the file system, which will obviously be available for our purposes. Let’s try to display it in a window; in this case, add the following line to the previous code:
cv2.imshow('Image',img)
For better management of the example, it is useful to insert a wait sequence before destroying the window and exiting the software. So, add the following two lines that manage the software exit after pressing a key:
cv2.waitKey(0)
cv2.destroyAllWindows()
cv2.waitKey() If you pass the value 0 as in the example, the system will wait indefinitely. Otherwise, you can pass a value in milliseconds as the wait time.
cv2.destroyAllWindows() is a method that destroys/closes all active windows.
So, summarizing the various points, we have:
import cv2
img = cv2.imread('example1.jpg',1)
cv2.imshow('Image',img)
cv2.waitKey(0)
cv2.destroyAllWindows()
And here’s the result:
Similarly, you can write an image to a file on the file system:
cv2.imwrite('example.png',img)
By now, you might be wondering if it’s just as easy to manage video streams. Well, yes. To access the webcam stream, you can use the specific VideoCapture interface:
video = cv2.VideoCapture(0)
where the parameter passed is the device id.
To load a video from a file, simply pass the video file path as a parameter:
video = cv2.VideoCapture("video.mpg")
At this point, we have the elements to create a small example that will allow us to manage a video, treat individual frames as images, and modify them in real-time as we like.
The following example will allow us to capture a webcam video stream and manage the frames in sequence.
import cv2
video = cv2.VideoCapture(0)
while(1):
    ret, frame = video.read()
    cv2.imshow('Modified Video',frame)
    if cv2.waitKey(1) & 0xFF == ord('q'):
       break
video.release()
cv2.destroyAllWindows()
Let’s try to rewrite the same code but apply a transformation to the video from RGB (RED,GREEN,BLUE) to grayscale:
import cv2
video = cv2.VideoCapture(0)
while(1):
    ret, frame = video.read()
    frame_transformed_to_gray = cv2.cvtColor(frame, cv2.COLOR_BGR2GRAY)
    cv2.imshow('Modified Video',frame_transformed_to_gray)
    if cv2.waitKey(1) & 0xFF == ord('q'):
       break
video.release()
cv2.destroyAllWindows()
Before closing this article, let’s do one last example. Let’s try to draw a square on each video frame, positioned 10px from the top and left, 100px wide and 100px high, in red color (expressed in RGB format), and 3px thick. To the previous code, simply add:
cv2.rectangle(frame, (10, 10), (110,110), (0,0, 255), 3)
For better readability, we use some variables in the code:
import cv2
video = cv2.VideoCapture(0)
left=10
top=10
right=110
bottom=110
while(1):
    ret, frame = video.read()
    cv2.rectangle(frame, (left, top), (right, bottom), (0,0, 255), 3)
    cv2.imshow('Modified Video',frame)
    if cv2.waitKey(1) & 0xFF == ord('q'):
       break
video.release()
cv2.destroyAllWindows()
The result is software that can capture a real-time video stream from a webcam and draw an object on it.

I am passionate about technology and the many nuances of the IT world. Since my early university years, I have participated in significant Internet-related projects. Over the years, I have been involved in the startup, development, and management of several companies. In the early stages of my career, I worked as a consultant in the Italian IT sector, actively participating in national and international projects for companies such as Ericsson, Telecom, Tin.it, Accenture, Tiscali, and CNR. Since 2010, I have been involved in startups through one of my companies, Techintouch S.r.l. Thanks to the collaboration with Digital Magics SpA, of which I am a partner in Campania, I support and accelerate local businesses.
Currently, I hold the positions of:
CTO at MareGroup
CTO at Innoida
Co-CEO at Techintouch s.r.l.
Board member at StepFund GP SA
A manager and entrepreneur since 2000, I have been:
CEO and founder of Eclettica S.r.l., a company specializing in software development and System Integration
Partner for Campania at Digital Magics S.p.A.
CTO and co-founder of Nexsoft S.p.A, a company specializing in IT service consulting and System Integration solution development
CTO of ITsys S.r.l., a company specializing in IT system management, where I actively participated in the startup phase.
I have always been a dreamer, curious about new things, and in search of “new worlds to explore.”
